Do you wish to have your vanity doodle, but you simply cannot afford any pricey software? Otherwise, are you a beginner in drawing stuff with a mouse?
Well, this tutorial is for you!
希望有专属的图画,却无法负担价格高昂的软件?又或者,你是新手上门,想学用滑鼠画画?
这篇教程是给你们的哦。
Of course, this is for drawing figurines. I'm yet to explore the others.
当然,这只供你们学画人物用的。其他的,探索中······
#100% Written by SHARON NG HUEY YUEK.
PART 1: MICROSOFT PAINT
Well, this tutorial is for you!
希望有专属的图画,却无法负担价格高昂的软件?又或者,你是新手上门,想学用滑鼠画画?
这篇教程是给你们的哦。
Of course, this is for drawing figurines. I'm yet to explore the others.
当然,这只供你们学画人物用的。其他的,探索中······
#100% Written by SHARON NG HUEY YUEK.
PART 1: MICROSOFT PAINT
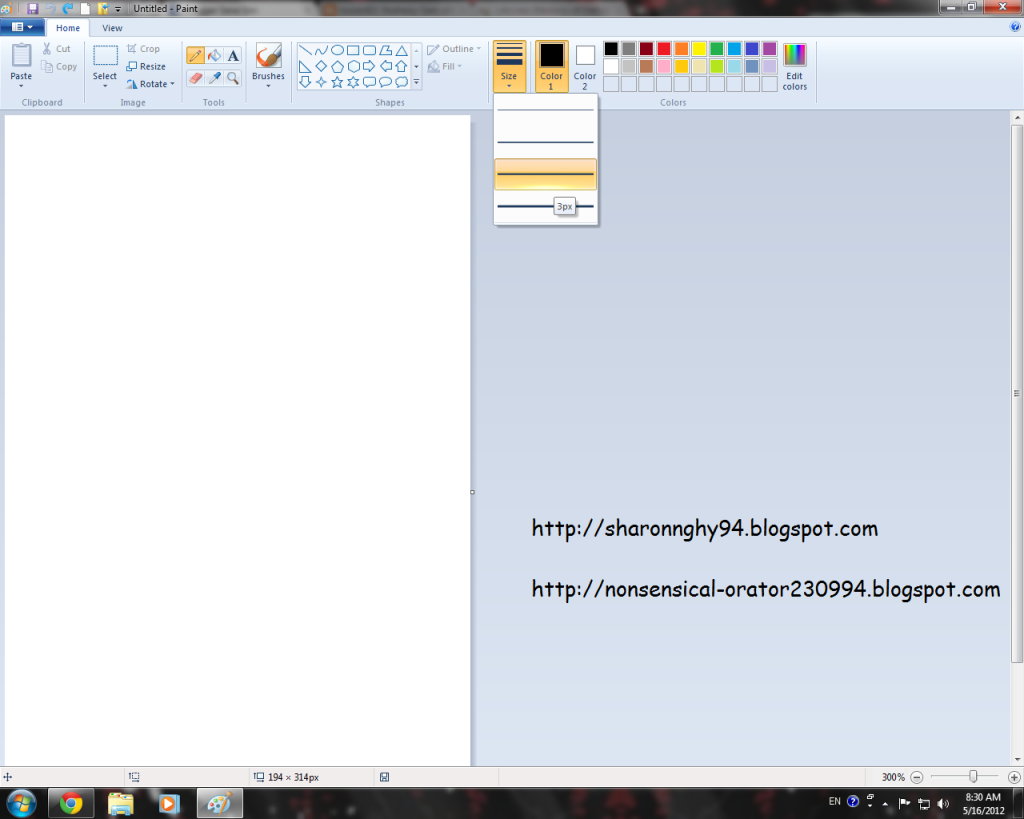 |
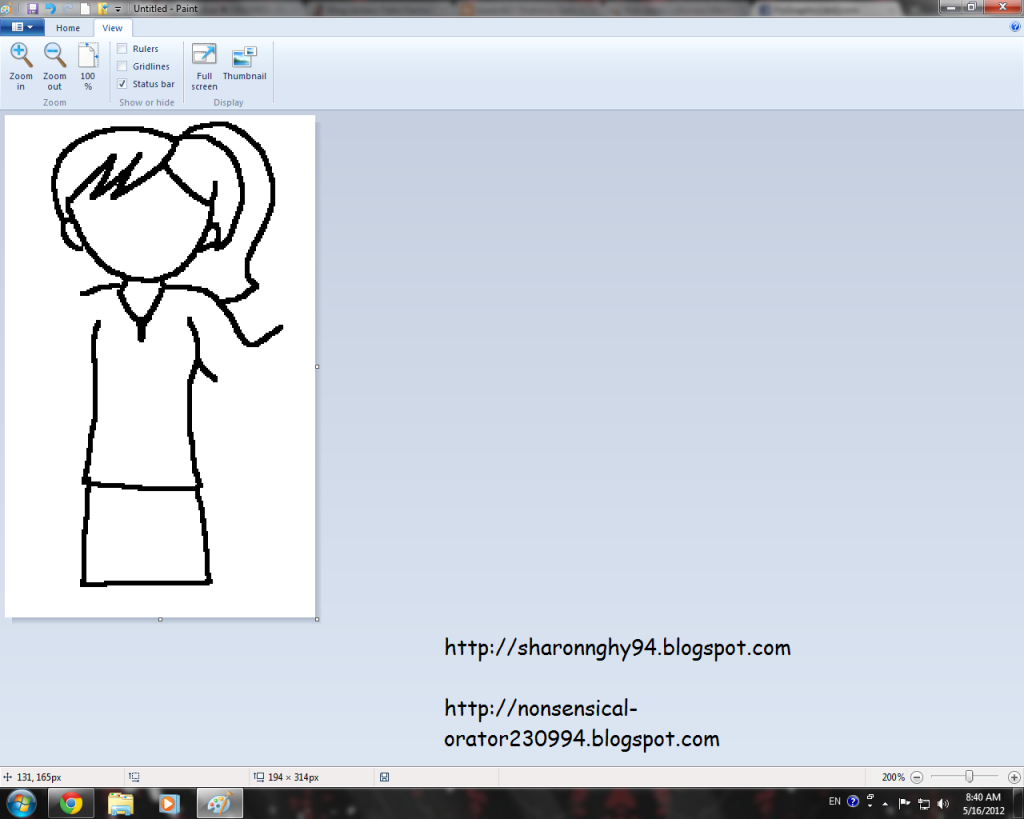
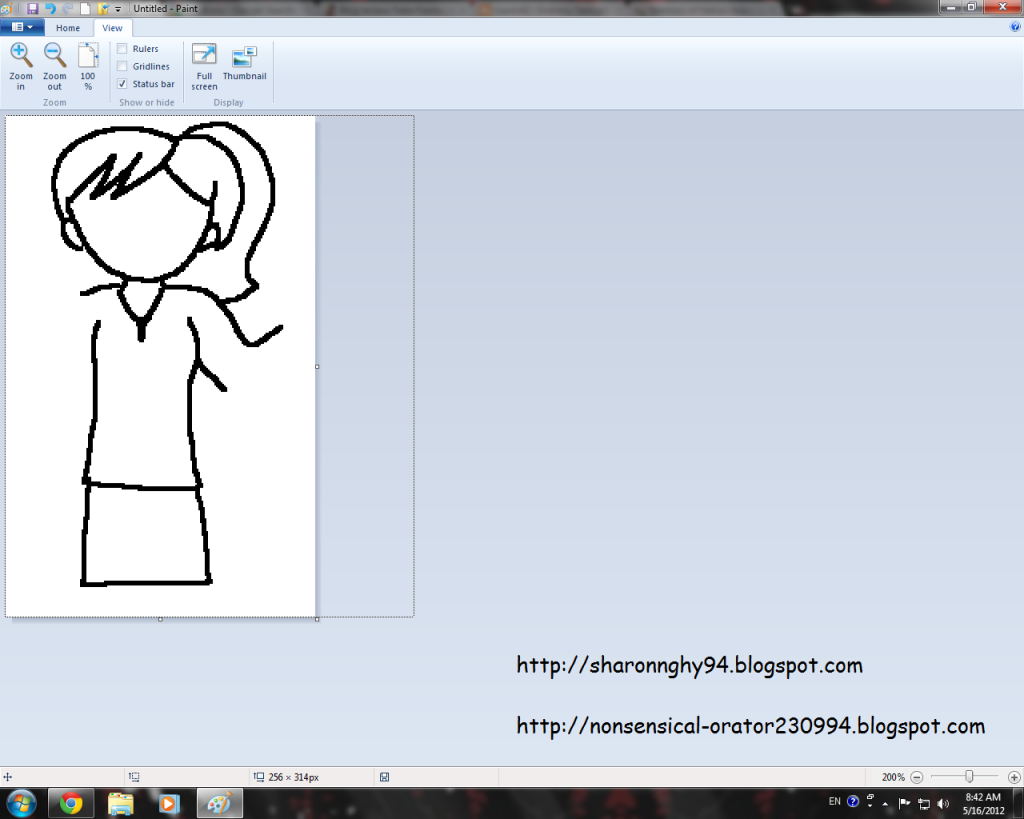
| 打开Microsoft Paint,选择铅笔工具,再选三号笔。 Open Microsoft Paint. Use the pencil tool and set to size 3. |
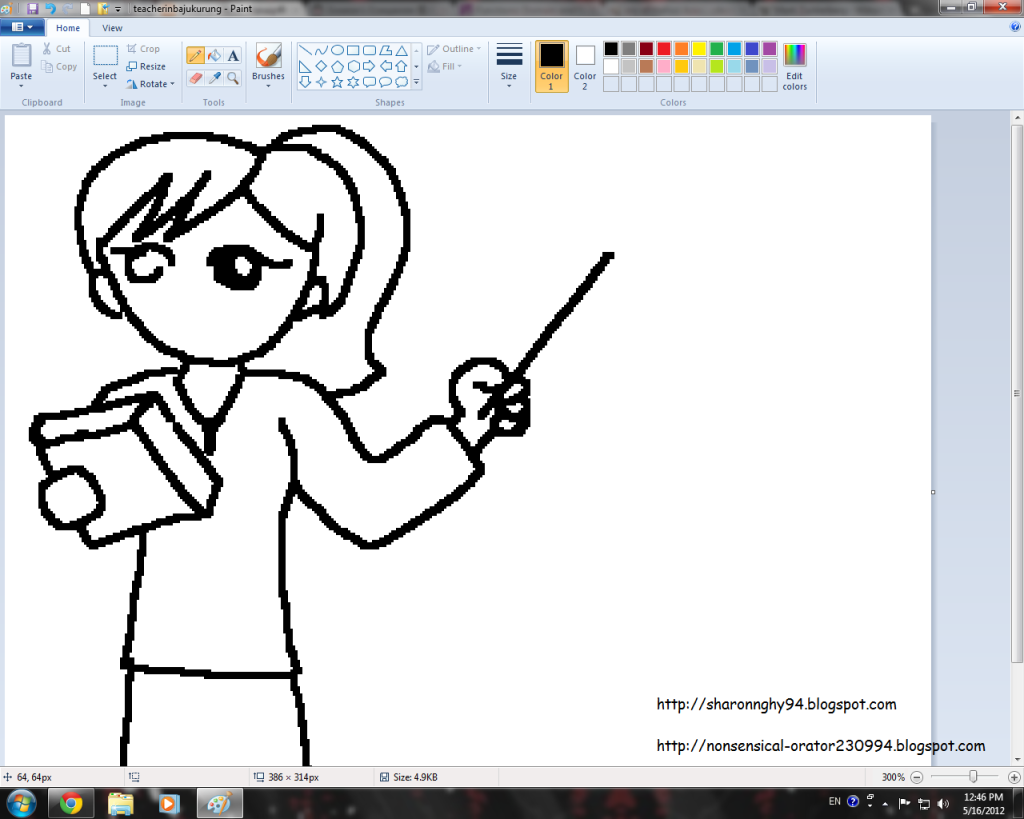 |
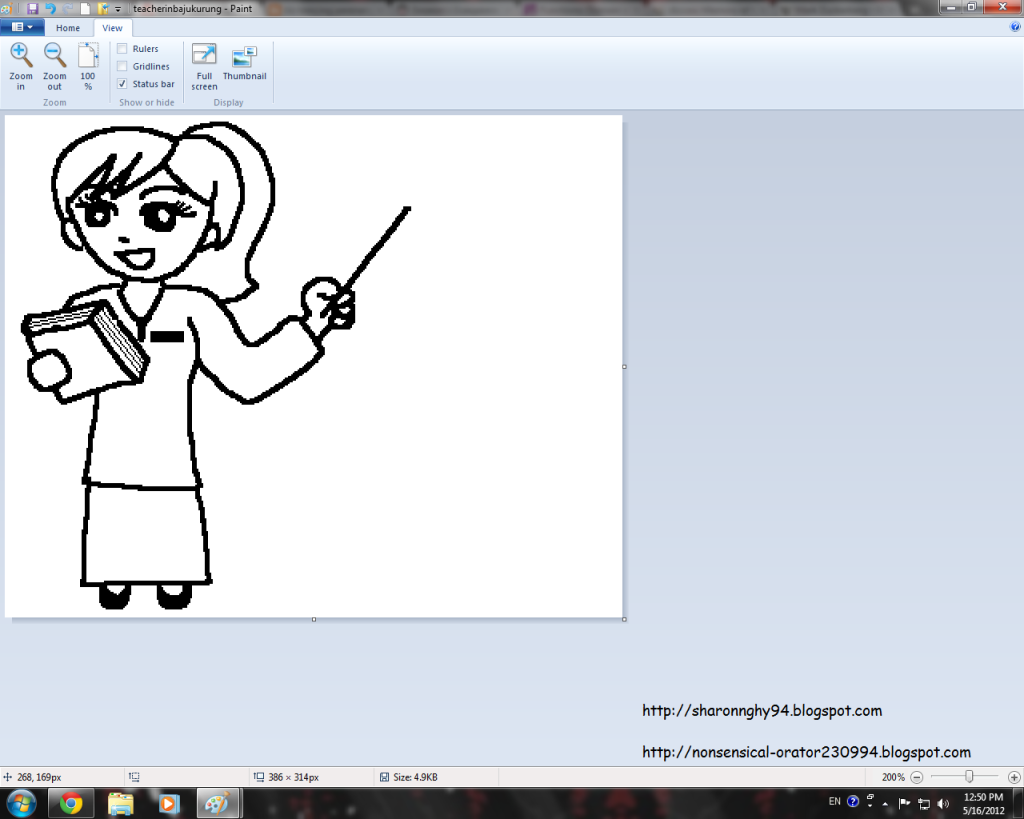
| 画出脸部细节。需要时,用小号笔。(建议二号) Draw the facial details. When required, switch to a smaller pencil size. (I suggest Number 2) |
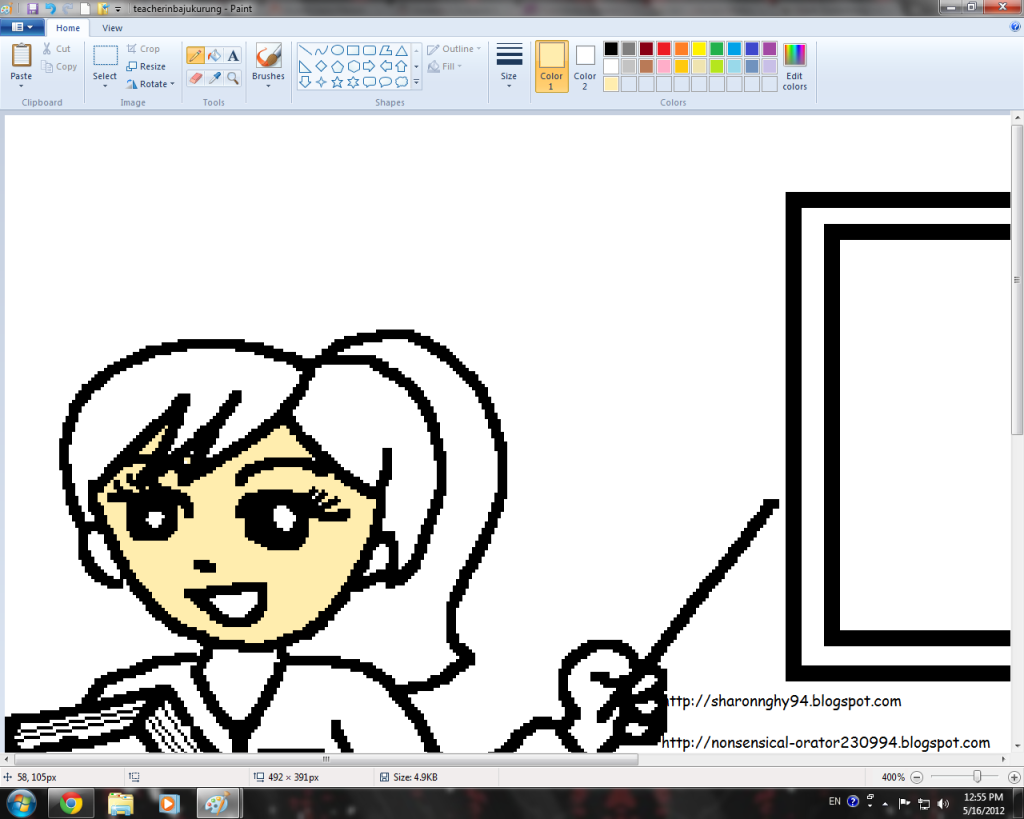 |
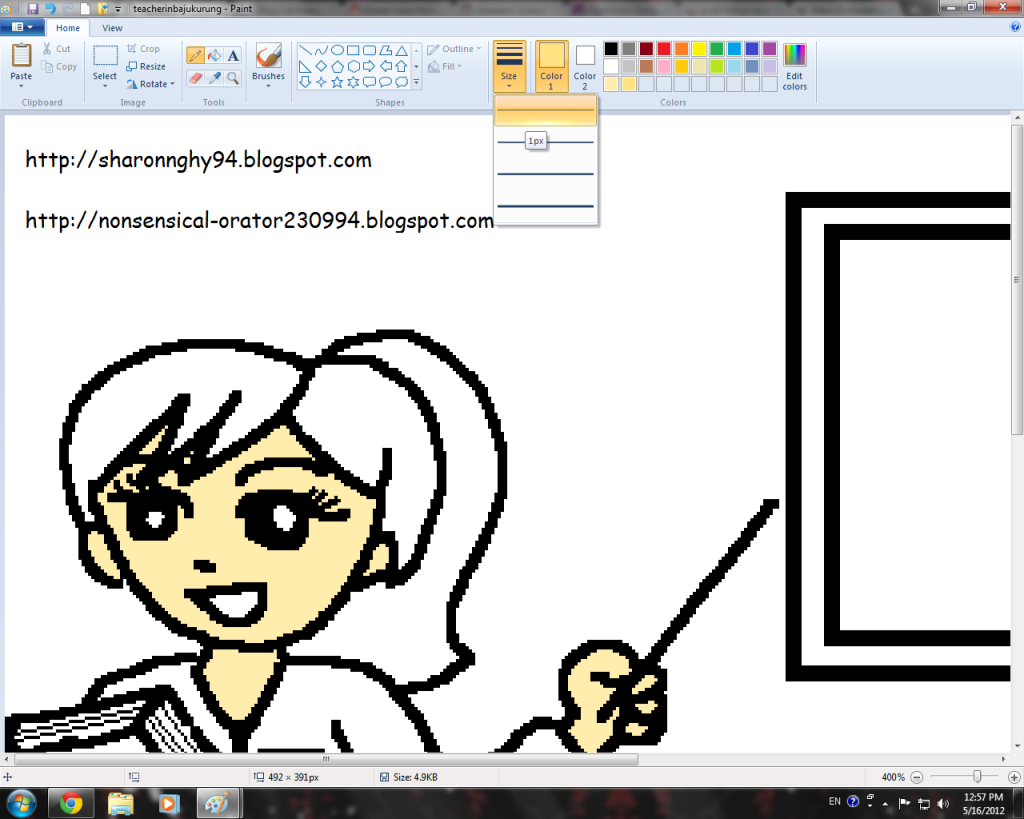
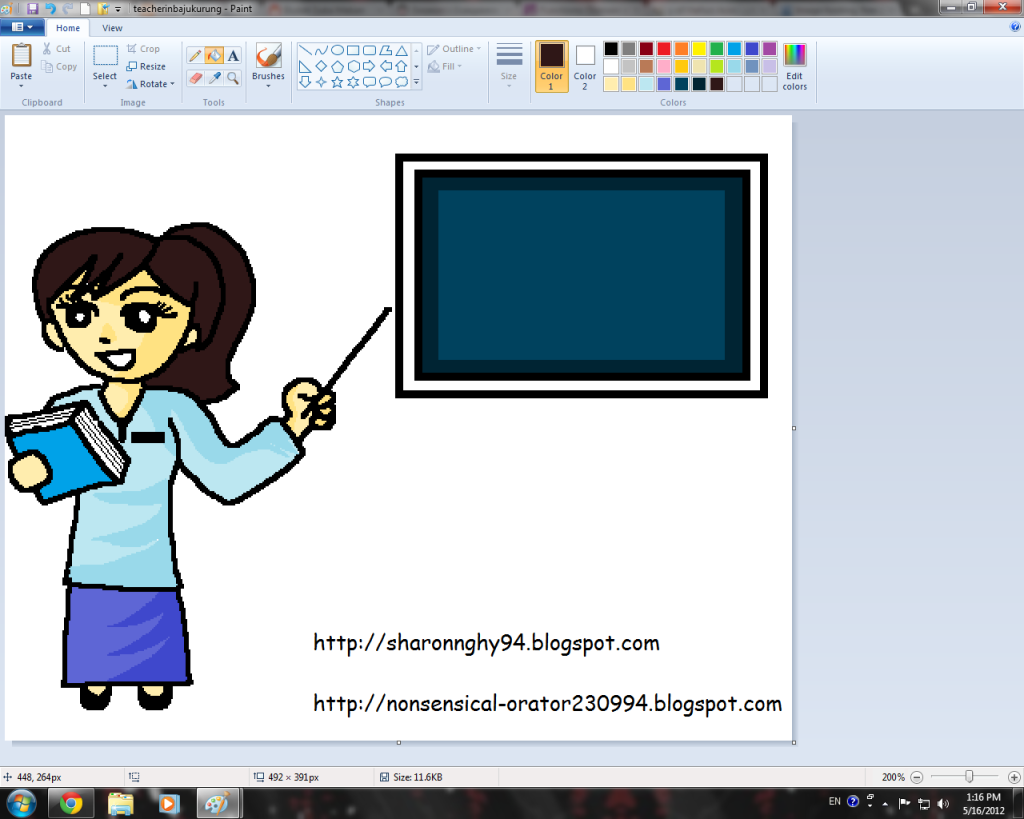
| 开始为人物上色咯!建议用橙黄色(浅的,你们应该会调色吧?)这是普通的黄种人。 Let's get the figurine coloured! I suggest you guys use lighter hues of amber for the typical yellow-skinned Asian. |
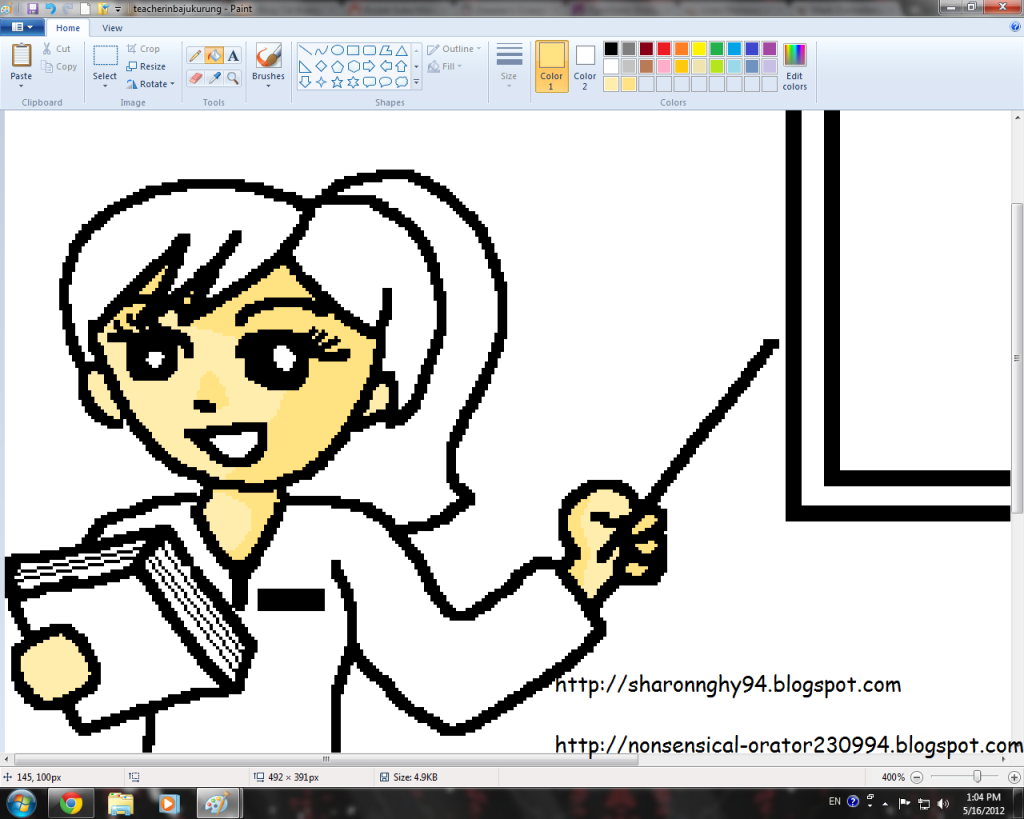 |
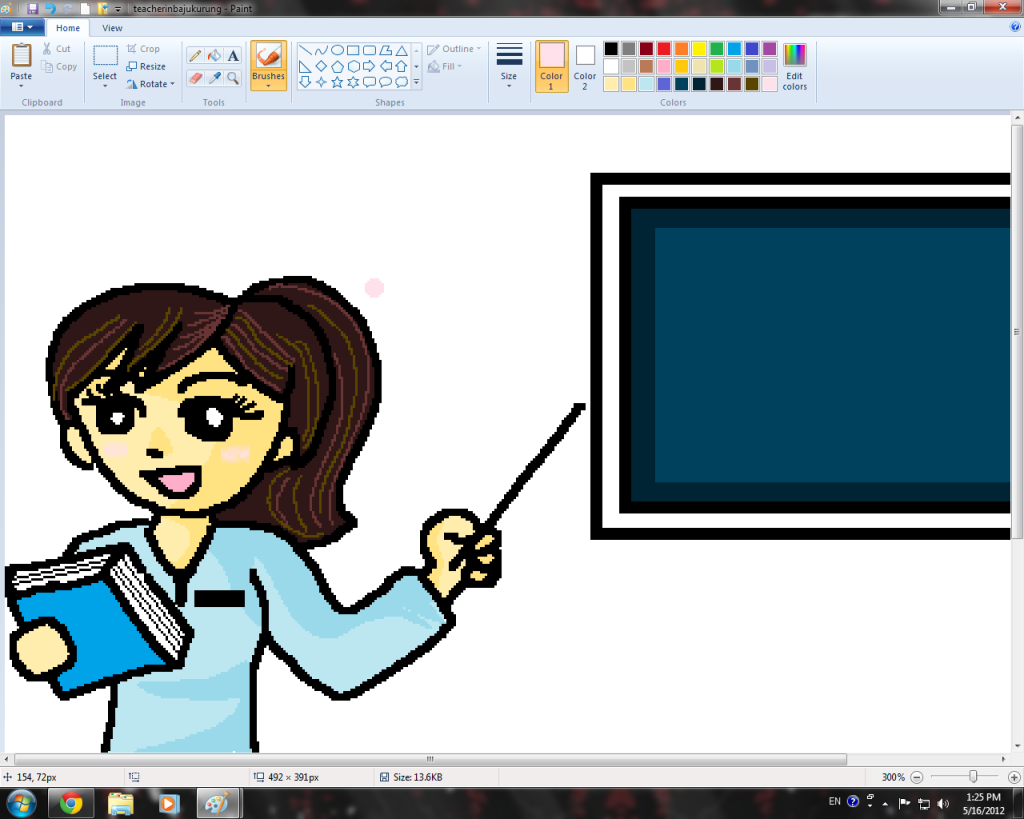
| 换用一个较深的色调,用一号笔画出欲加强的部分。 Switch to a darker hue to highlight the features by drawing the areas to be highlighted with size one pencil tool. |
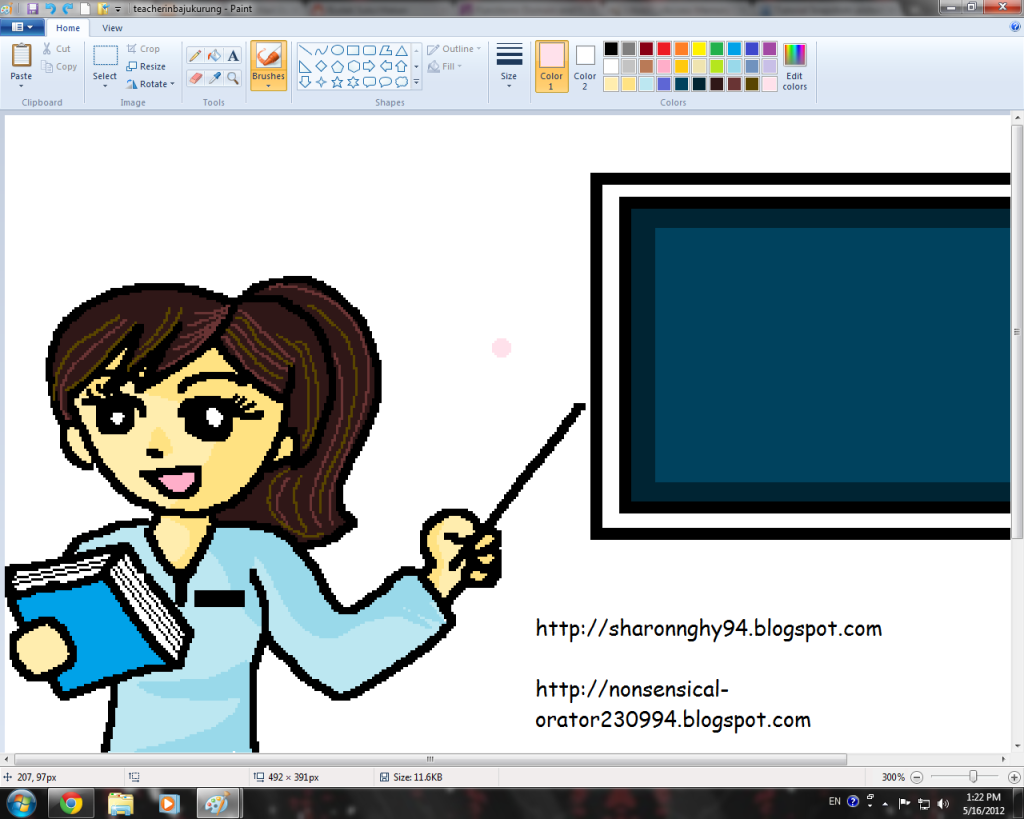 |
| 为头发加底色。用一/二号笔在头发上划线,使其有头发的质感。 Add base colour to the hair. Draw lines onto the hair with pencil size one or two so that it resembles hair more. |
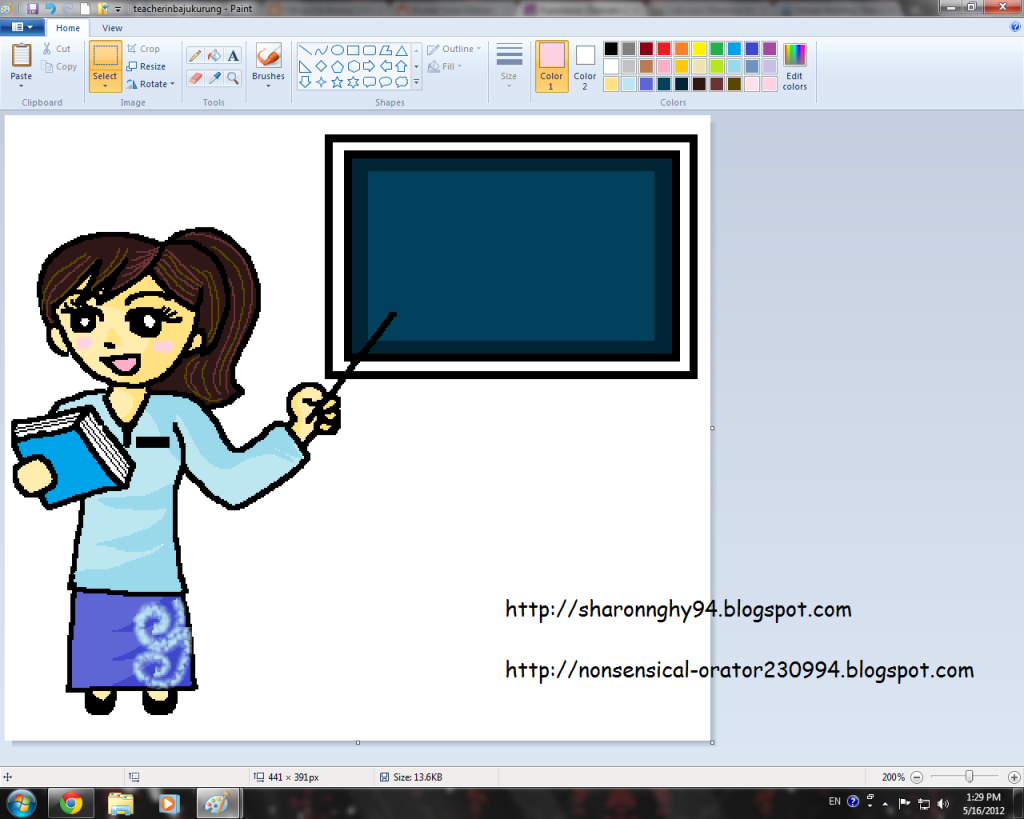 |
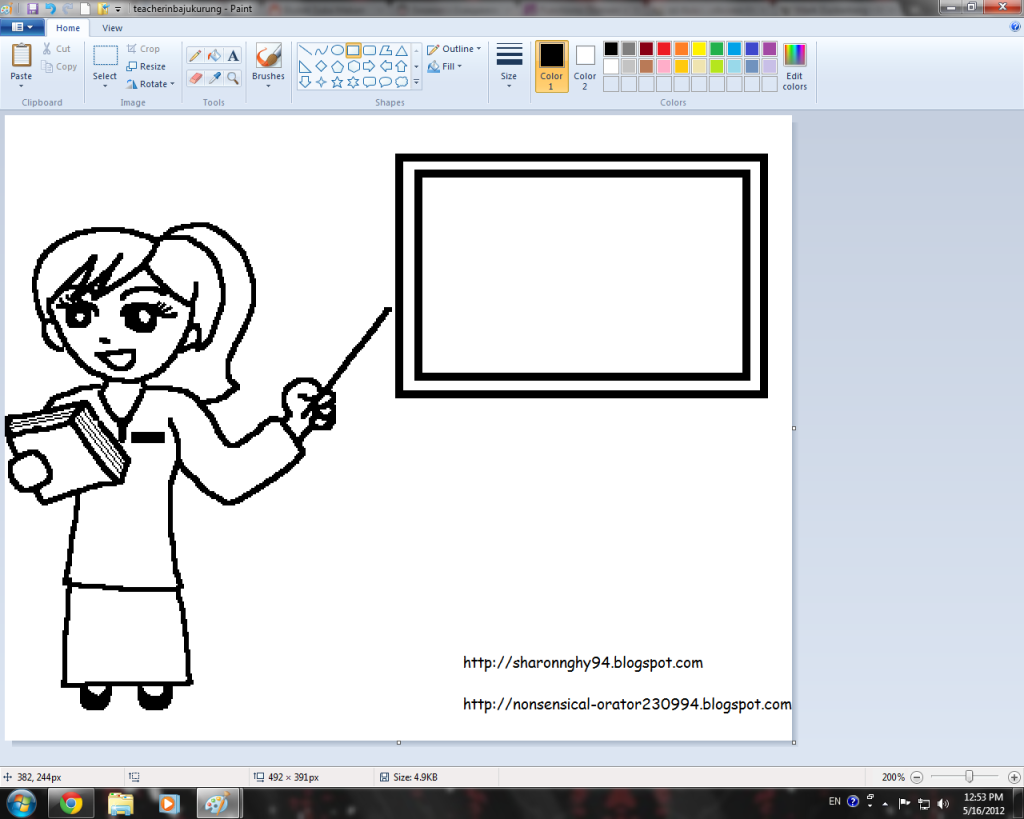
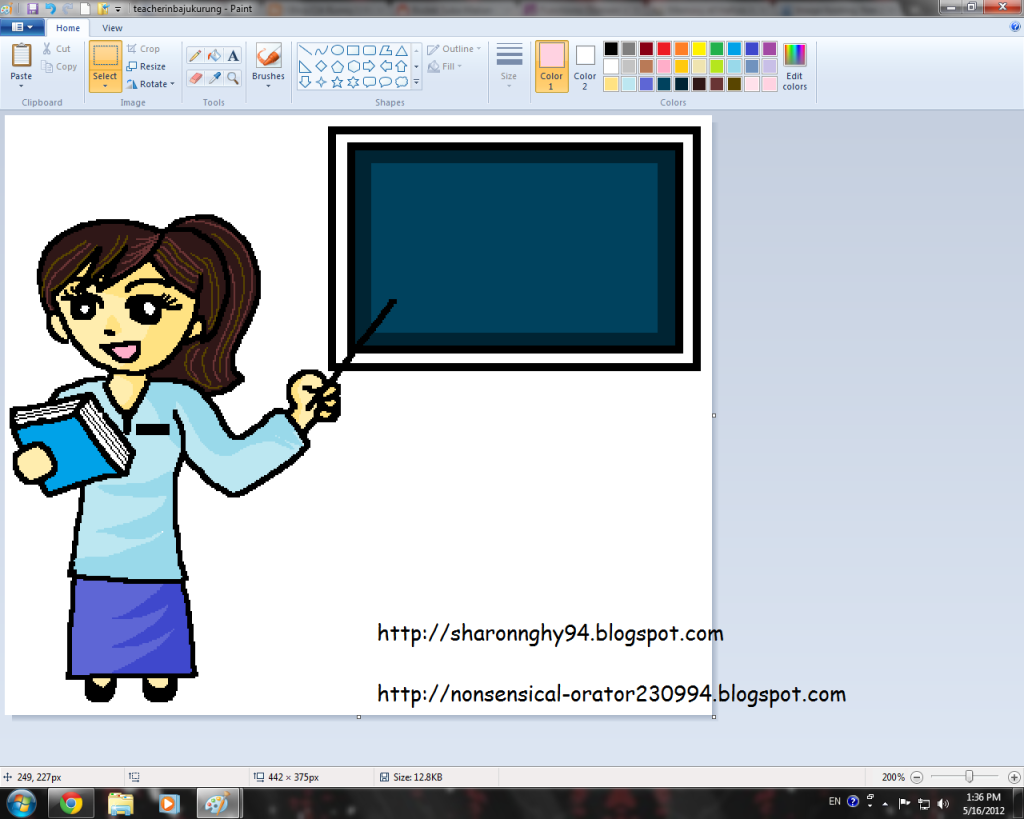
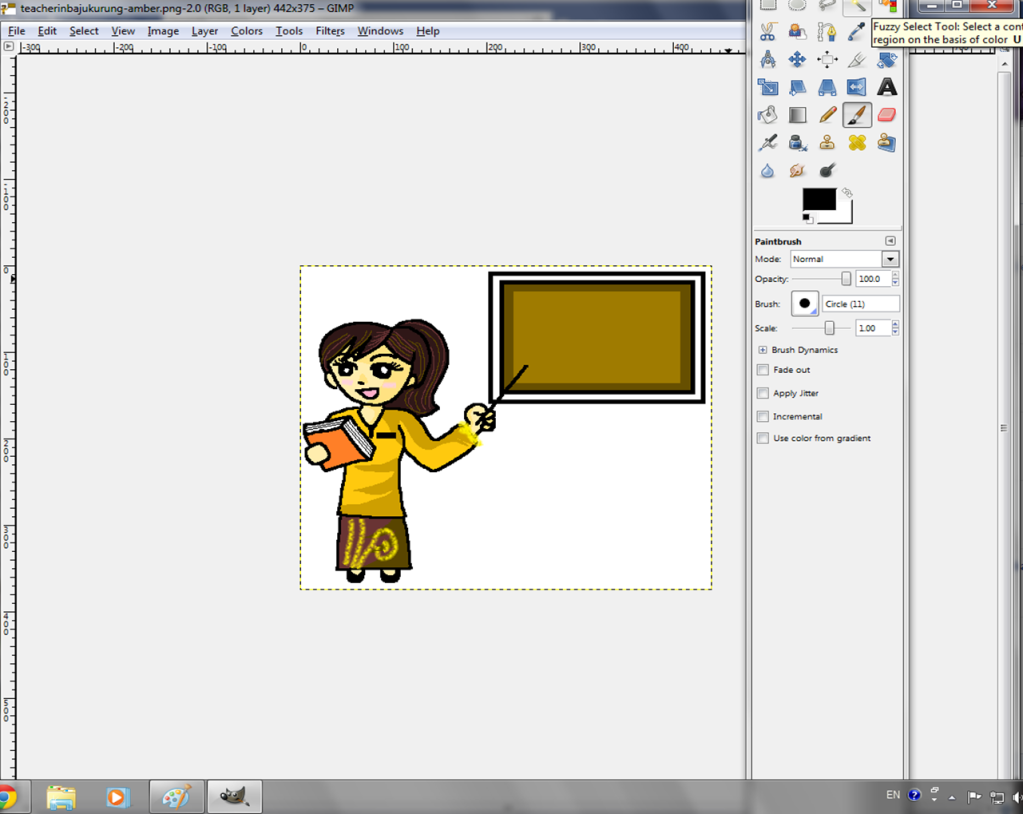
| 完成了,就裁剪图画。记得在周围保留一些空位哦。 Done? Time to crop your picture to size. Do keep some space around your doodle though. |
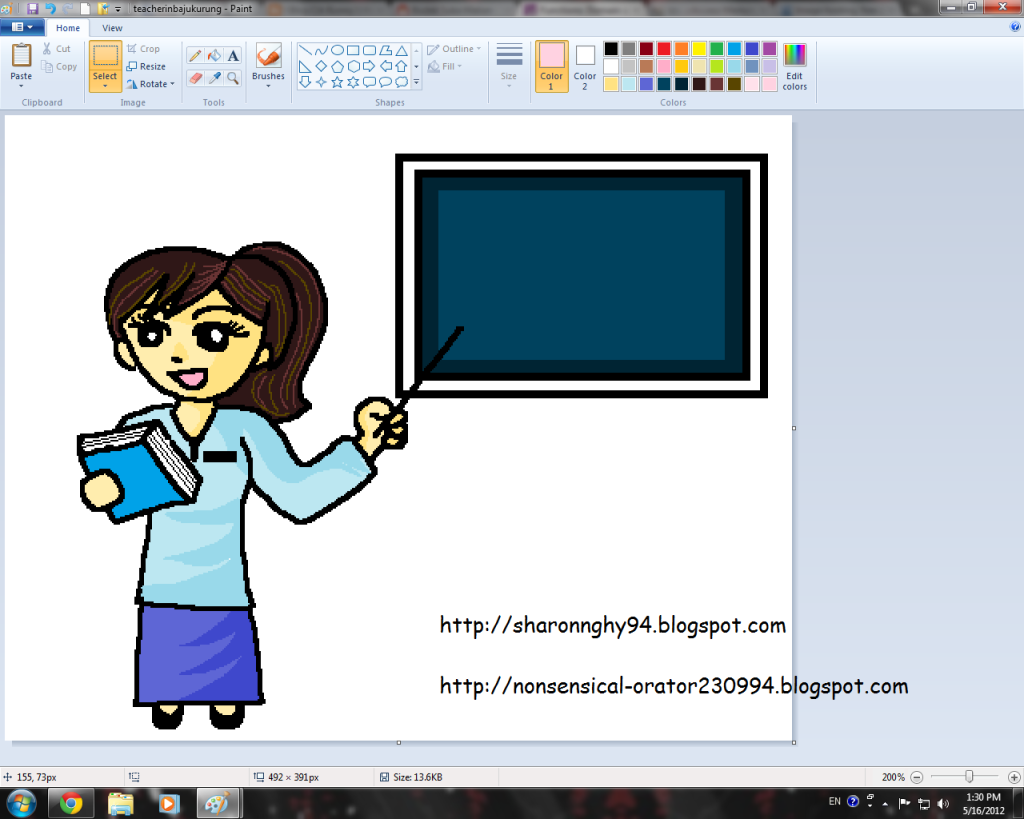 |
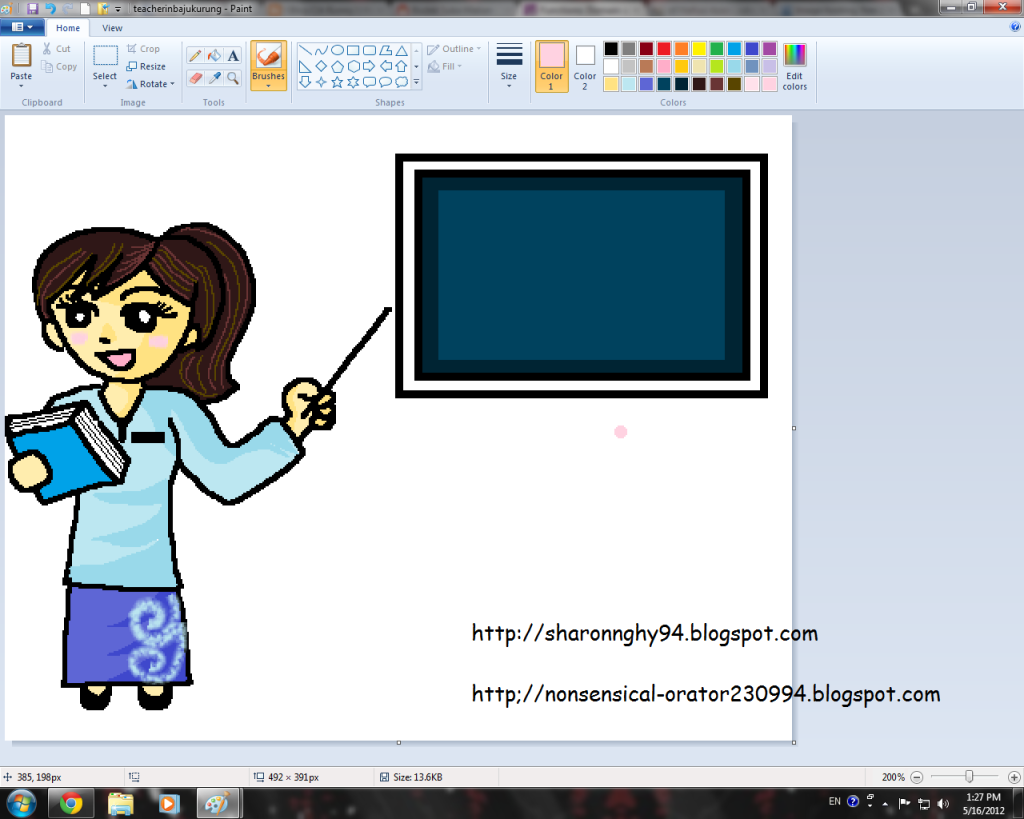
| 最好保留一份没有装饰的原图,就容易为图画换色。 I recommend you guys to save a copy of your doodle without any decorations, so that you can change the colour hue later, as you wish! That means variety. |




im so proud of ur informative especially d above lesson...so good
ReplyDeleteI'm so impressed of ur tentatively ways in giving lesson..simple 2 understand..tq
ReplyDeleteThank you! You are certainly proficient in English! You can try it and if you do succeed, remember to give me the link. Who knows, your work might just get shared!
ReplyDeleteCantiklah doodle tuu. Tak pernah buat doodle guna Microsoft Paint. But then, I buat doodle guna Paint Tool Sai jee :)
ReplyDeleteGoodLuck Sharon :)
你画得很漂亮!!加油哦!!
ReplyDeleteAqilah: Saya juga teringin guna Paint Tool SAI. Cantik doodle pakai software tu. Tetapi Paint Tool SAI berbayar, jadi saya batalkanlah hasrat tu. Tak tahan asyik download free version. :D
ReplyDelete彩怡:谢谢!